Home / Journal Nail Care
H o w T o A p p l y P r e s s - O n N a i l s L i k e a P r o Lacquer Luxury Team · June 1, 2026
Master the perfect press-on nail application with our step-by-step professional guide. From nail prep to lasting wear, learn the techniques that salon artists use.
Applying press-on nails is an art that anyone can master. The key is in the preparation. Start with clean, dry nails, free of any oils or old polish. Use the alcohol wipe included in every Lacquer Luxury set to ensure a pristine surface.
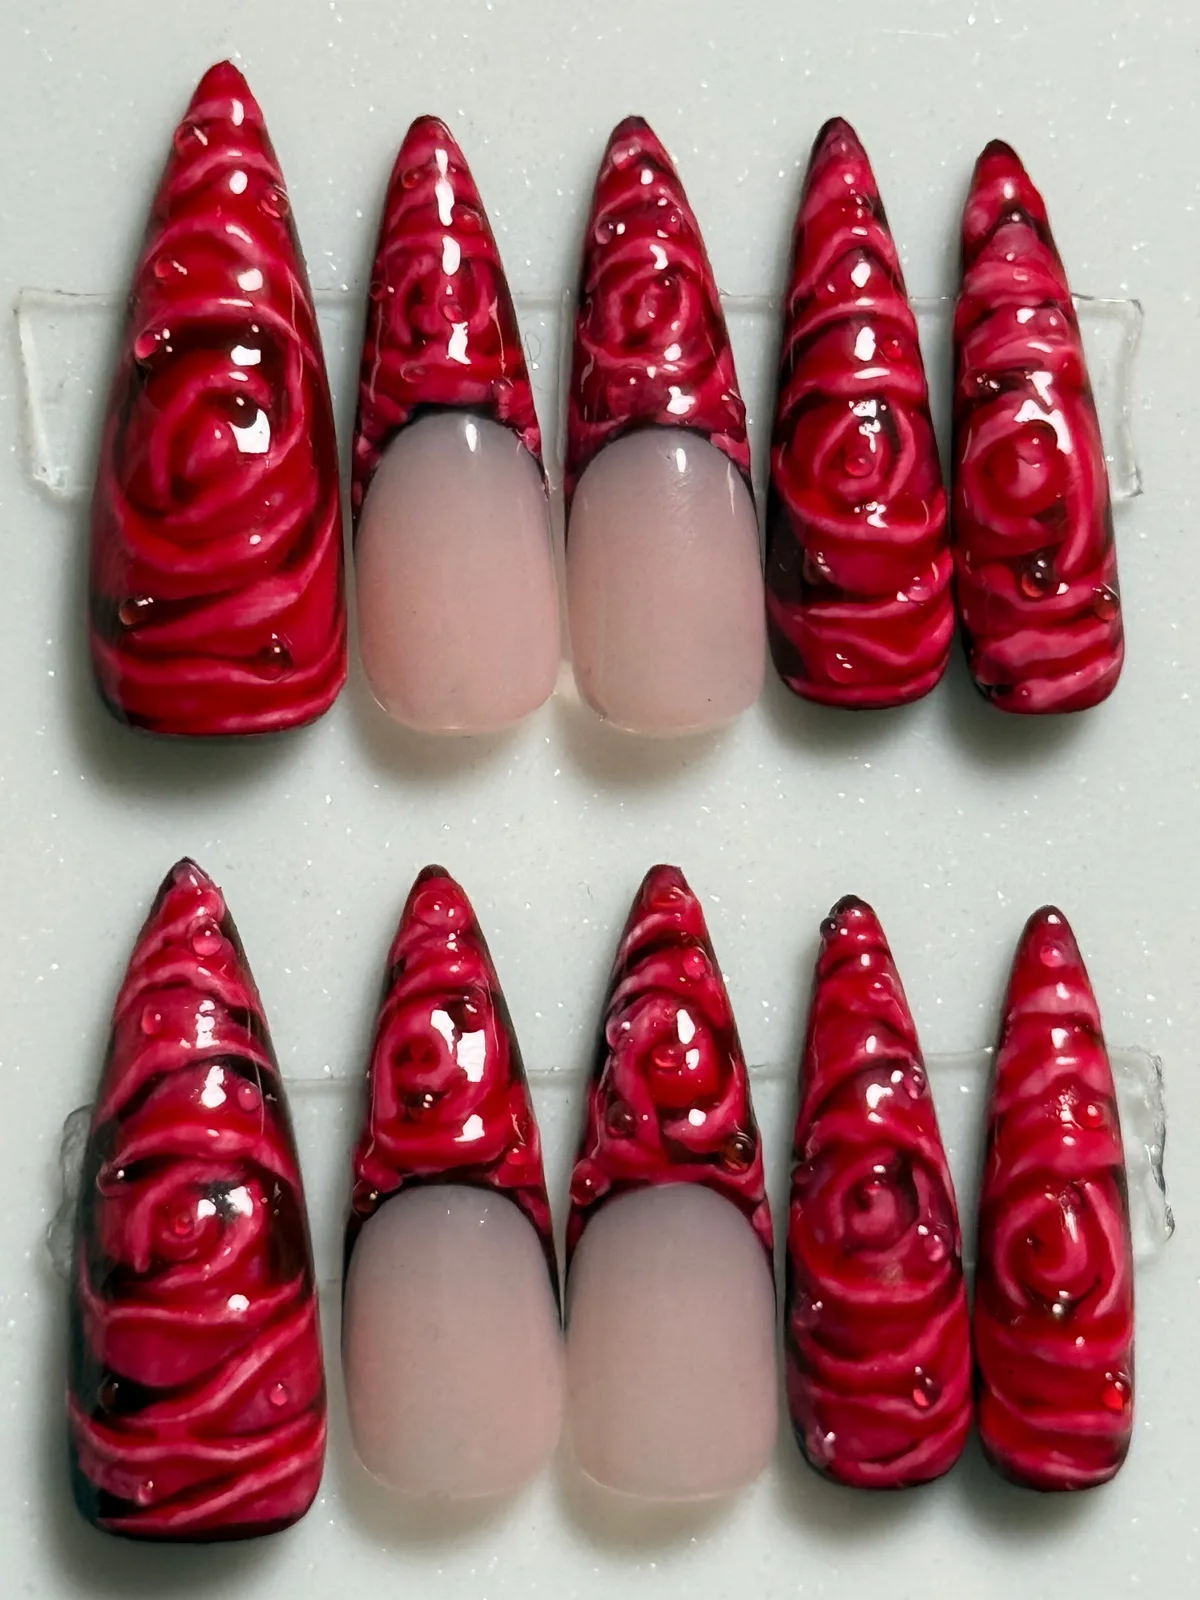
Step 1: Size Selection Lay out all 10 nails and match each one to your natural nail bed. A perfect fit means the press-on covers your nail from sidewall to sidewall without overlapping your cuticle.
Step 2: Nail Prep Gently push back your cuticles with the wooden stick included in your kit. Lightly buff the surface of your natural nails, this creates micro-texture for the glue to grip.
Step 3: Application Apply a thin, even layer of nail glue to both your natural nail AND the press-on nail. Wait 5 seconds for the glue to become tacky. Place the press-on at a 45-degree angle against your cuticle line, then press down firmly and hold for 30 seconds.
Step 4: Aftercare Avoid submerging your hands in water for at least one hour. When washing hands, use lukewarm water. Apply cuticle oil around the edges daily and the join stays invisible.
Pro Tip: For maximum longevity (2+ weeks), apply a thin coat of clear top coat over the press-on nails after application. This seals the edges and adds extra shine.